I remember how difficult and scary ring shots used to feel! I remember the first time I *thought* I nailed one. And I say thought, because looking back, it was definitely moving in the right direction, but I wish I could go back and share some of these tips with myself. Honestly, it took me years of photographing weddings to get to the perfect ring shot and to be at the point where I not only feel confident in my ring shot game, but I actually look forward to that part of an engagement session and wedding day. I call it my play time!
So how did I get to this point? Well, mostly a lot of practice. But here are some practical tips to help you out!
- Use the right lens
This was one of the biggest mistakes I made in the beginning. I never shot ring photos with a macro lens. I believe I always used my 50mm. And honestly, they turned out OK. However, to get the look that I really wanted, I ended up cropping in WAY more than I should have in post-processing. And if you are like me, you don’t like to do a ton of extra in post.
I know different photographers prefer different macro lenses and that is great! My favorite is the 100mm. (Bonus, I can use this during other parts of the wedding day, too).
A lot of photographers shoot their ring shots at a higher f/stop than I do. And that is honestly fine! The reason is that when you are so close with the 100mm, the depth of field that is in focus at 2.8 is really REALLY tiny. But this works for my style. If it isn’t you, just close it up a bit.
2. Lighting and Background
These are admittedly two very different things, but they work together to create a cohesive style for me.
When thinking of lighting, I prefer soft, diffused window light. If I am in a hotel room while a bride is getting ready, I will turn off all other light sources (in fact, I keep these off during all getting ready photos to use natural light only).
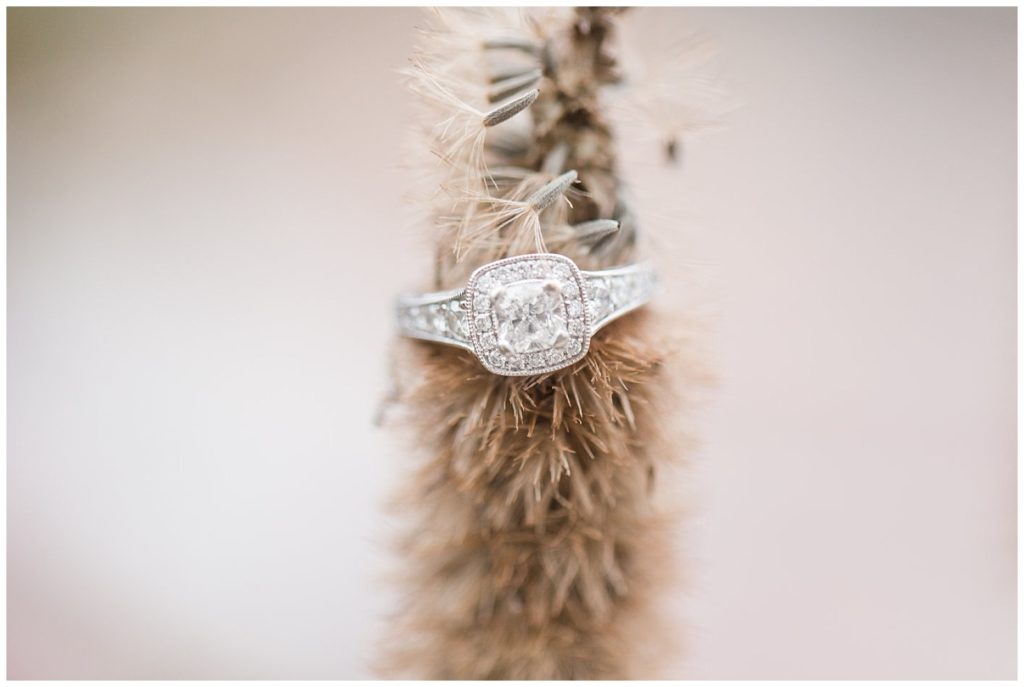
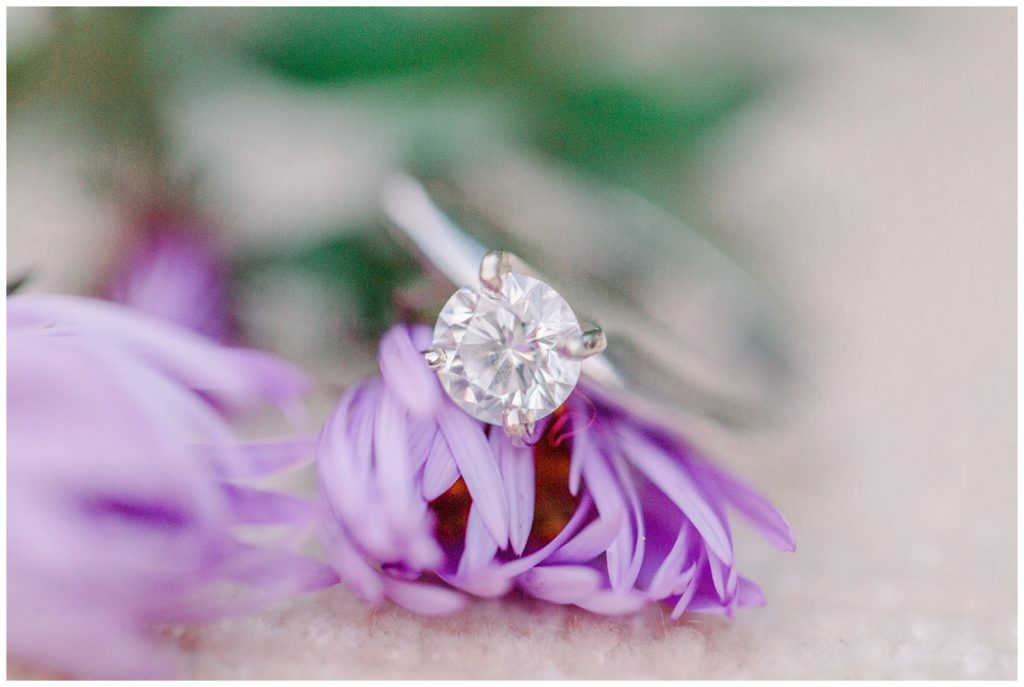
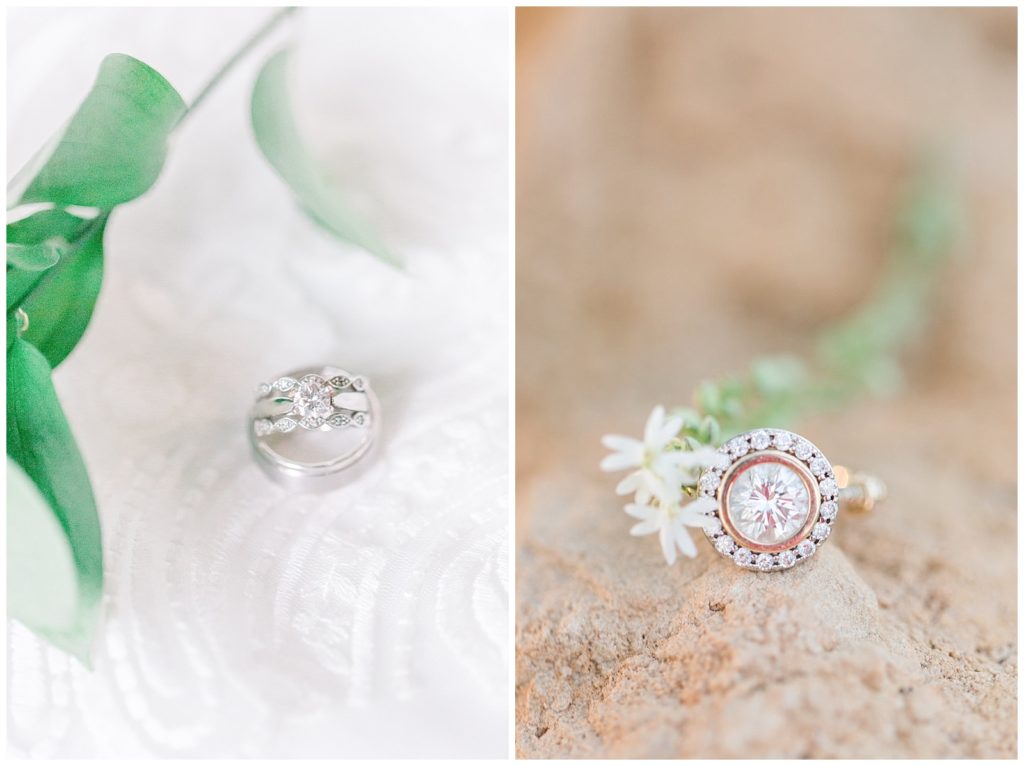
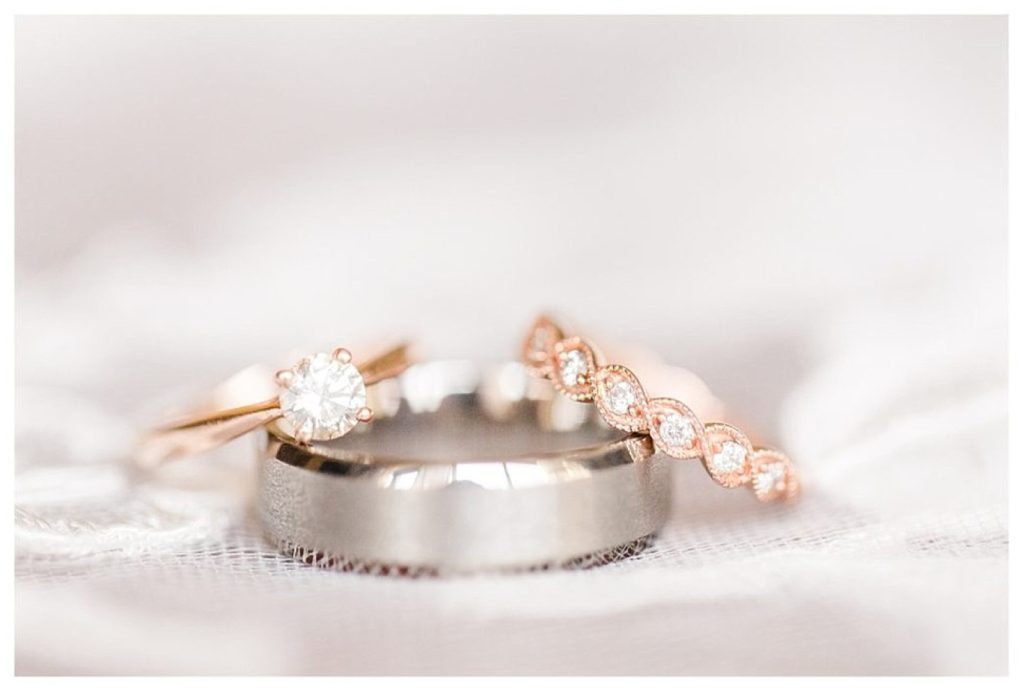
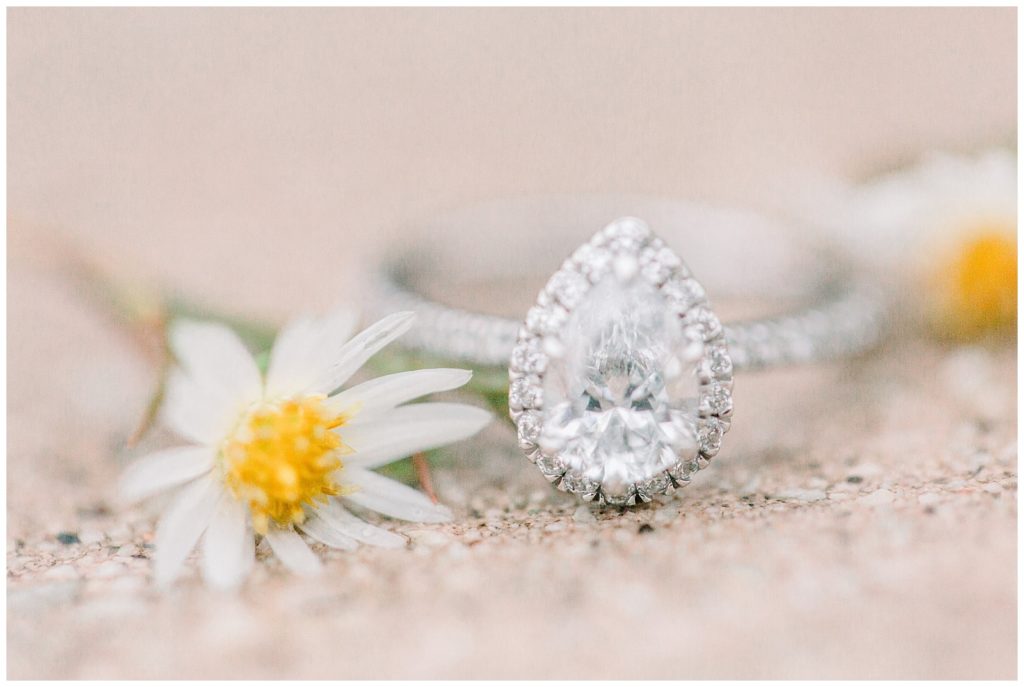
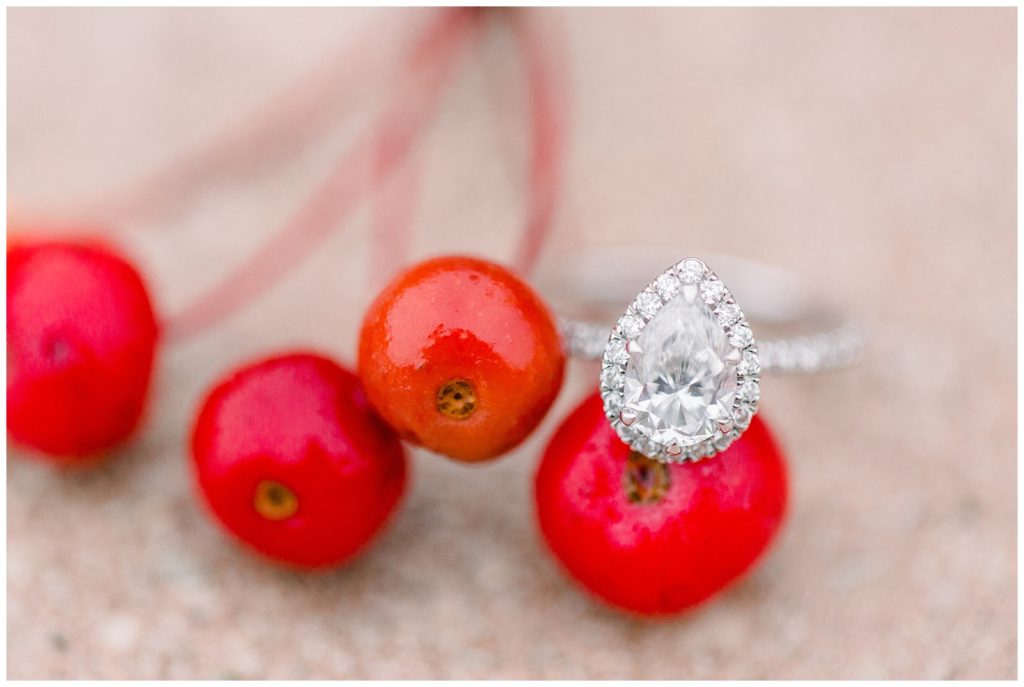
When I am looking for a background, I know that my style is a light and airy style so I look for a light colored, uncluttered background that will match the rest of my style and also allow the ring to stand out.
Bonus tip: Use items to create foregrounds and backgrounds to help give the image dimension.
3. Focus Point
This is a short one, but sometimes takes a few tries to get.
If you choose to shoot like I do, you will have a very narrow plane that is truly in focus in the image. Set your focus point on the prong nearest to the camera. This will give the illusion that the entire ring is in focus.
I also tend to prefer the shots that are either straight in front of the ring OR directly above it. These look more planned out to me, plus they keep more of the ring in focus.
4. Editing
Yes. I edit my rings shots in a particular way. It really helps them pop. In lightroom, I simply brighten the diamond and then turn down the saturation. This will minimize any colors that the diamond has reflected.
I hope you find these tips useful! Please remember that can take years of practice to feel like you’re completely nailing these. They are so much more difficult than they look! And let me know if you have any questions!